
State Machines provide a graphical way to break the animation of a Skeletal Mesh into a series of States. These states are then governed by Transition Rules that control how to blend from one state to another. As a tool, they greatly simplify the design process for Skeletal Mesh animation, in that you can create a graph that easily controls how your characters can flow between types of animation without having to create a complex Blueprint network.
Can play any Playeable node. Transitions can have complex conditions using visual scripting.
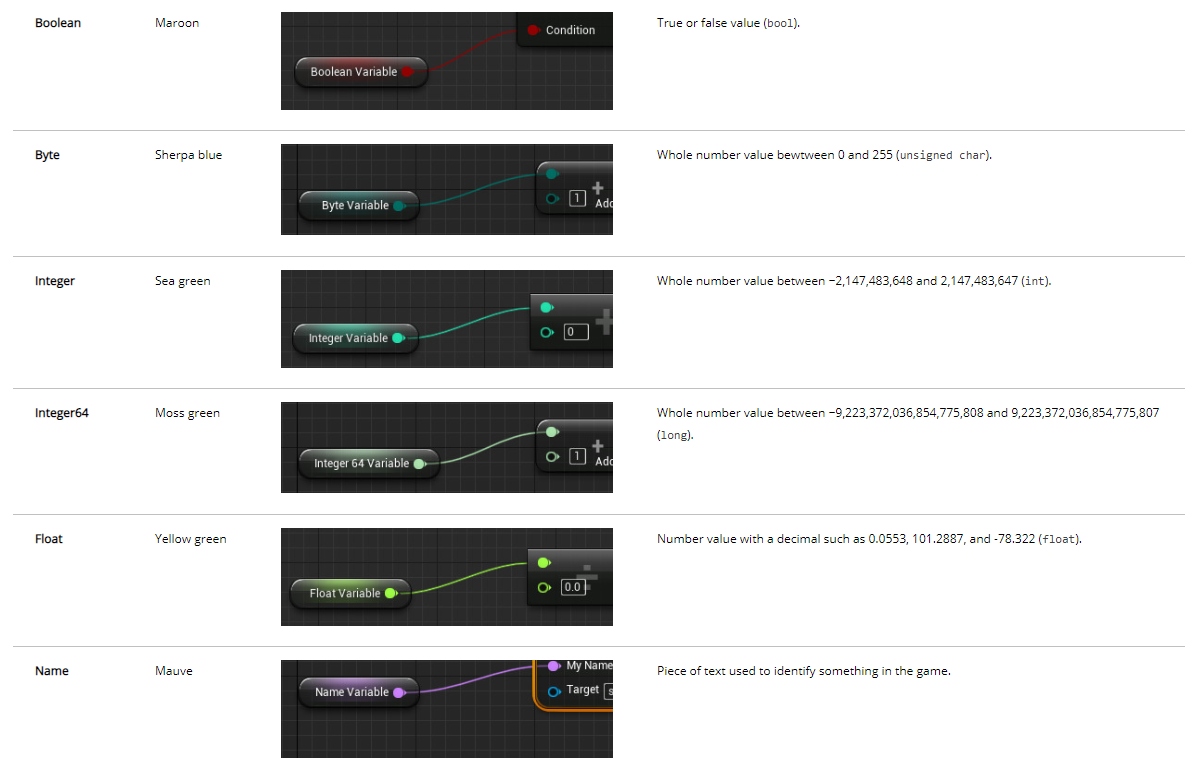
Event Graph
Via BP visual scripting processes input data each tick to drive the AnimGraph and State Machines.
Every Animation Blueprint has a single EventGraph, which is a standard Graph that uses a collection of special animation-related events to initiate sequences of nodes. The most common use of the EventGraph is to update values used by Blend Spaces and other blend nodes to drive animations within the AnimGraph.

Animation Events
Various events are called by the animation system to initialize and update the Animation Blueprint. These can be placed in the EventGraph to implement or override functionality.
Blueprint Initialize Animation
The Blueprint Initialize Animation event is executed once when the Animation Blueprint instance is created to perform initialization operations.

Pin | Description | |
|---|---|---|
Output Pins | ||
Exec (Blank) | Fired once each frame when the BlueprintInitializeAnimation() event is executed in code. | |
Blueprint Update Animation
The Blueprint Update Animation event is executed every frame allowing the Animation Blueprint to perform calculations and updates to any values it needs. This event is the entry point into the update loop of the EventGraph. The amount of time elapsed since the last update is available from the DeltaTimeX pin so time-dependent interpolations or incremental updates can be performed.

Pin | Description | |
|---|---|---|
Output Pins | ||
Exec (Blank) | Fired once each frame when the BlueprintUpdateAnimation() event is executed in code. | |
Delta Time X | Outputs the amount of time since the last execution cycle. | |
The EventGraph of a Level Blueprint contains a node graph that uses events and function calls to perform actions in response to gameplay events. This is used to handle events for the level as a whole and to add functionality for specific instances of Actors and Blueprints within the world.
In either case, an EventGraph is used by adding one or more events to act as entry points and then connecting Function Calls, Flow Control nodes, and Variables to perform the desired actions.
Animation State Machines allow you to think of your Animation Blueprint in a more modular sense than you would without it. Users define a series of various states in which the character or Skeletal Mesh could possibly exist. Next, they define the circumstances in which the character or Skeletal Mesh may enter and exit each state, similar to a flow chart.
For instance, you may have a flow chart that defines the process of your character's animation that may look something like this:


Anatomy of a State Machine
State Machines are comprised primarily of a network of states and the rules that define transitions into and out of them. Each state, along with each rule set, is its own condensed Blueprint network. This makes it very easy to handle complex animation blending without having to use an overly complicated AnimGraph.
States
Conceptually, it is best to think of a state as an organized portion of an AnimGraph that we know the character or Skeletal Mesh will be blending into and out of on a regular basis. You can then transition into and out of this part of the graph. For instance, you may have an Idle state for your character's animation, and that state may just contain a single animation.
Here is such an Idle state seen from the State Machine.


States have no pins in and of themselves, because they are intended to have a more freeform layout.
By dragging a wire from its outer border, you can connect states or create new states (similar to Blueprint).

Transition Rules
Once you have your states defined, you need to be able to control how your Skeletal Mesh is going to transition from one state to another which is where Transition Rules come into play. Transition Rules are created automatically along the wires that connect states.
Above, we are testing the value of a character's Speed. Once it reaches a value greater than 10, we enable the transition. In this case, the character is allowed to move from an Idle state to a Movement state. We can then use a completely separate rule to transition back to Idle.
For example, here we have a transition rule moving back from Movement to Idle.
Inside, we check to see if the same value we used to transition into the Movement state is no longer true.
Conduits
Conduits serve as a more advanced and sharable transition resource. Where a Transition Rule is going to be a simple 1-to-1 relationship form one state to another, a Conduit can have 1-to-many, many-to-1, or many-to-many. Conduits appear on the graph and look similar to a State but have a different icon preceding the Conduit's name (below).

An example use case for a Conduit could be a situation where you have multiple animations that could play when a character is killed.
You could start with a simple Transition Rule that says when the health of that character is less than or equal to 0, then go to a Death state. However, if instead of a State, the transition went into a Conduit, you could perform a series of checks to see how the player was killed (shot, stabbed, explosion, hit by a car, anvil on the head, etc.) and branch from there into various independent death States.
A simplified version of that graph may look something like below:

Inside, a Conduit graph looks just like a Transition Rule:

Before actually creating your State Machine, it is a good idea to take a little time and plan out exactly which states you will need, as well as the circumstances that will drive transitions between states. This will give you a solid plan of attack for not only the State Machine but also the variables you will need to drive it and which animations will be a part of each state.
You can create a New State Machine inside the AnimGraph of an Animation Blueprint Editor:
Right-click within the AnimGraph of your Animation Blueprint and choose State Machines > New State Machine from the context menu.
 Generally, it is a good idea to name your State Machine immediately after creation.
Right-click the new State Machine in the My Blueprint window and enter a new name in the name field.
In this case, the State Machine has been named "Locomotion."


Creating States and Conduits
Creating a new State is similar to creating new nodes within a Blueprint.
You can Right-click and create one from the context menu.

You can also drag a wire into an empty portion of the graph and release the mouse, which will also expose the context menu.

You can rename your States by Right-clicking the node in the graph.

Above our State has been created and renamed to Idle below.

Conduits are created in a similar manner, by either Right-clicking in the graph or dragging a new wire into an empty space on the graph.

Creating Transition Rules
Transition Rules are created automatically along the wires that connect States and Conduits. Graphically, Transition Rules appear as a small circular directional icon, like so:
This means that when you create a new State or Conduit by dragging a wire into an empty space on the graph, a Transition Rule will automatically be created for that wire. Additionally, you can drag a wire back to the original node to create a second Transition Rule for transitioning back to that node.
You can Double-click on a Transition Rule to open a new graph that will allow you to define the success or fail conditions for the transition.
Above if the Boolean IsSecondaryAttacking? is True, then the transition into the new state can occur.
Although a State Machine serves as a convenient way to break down the flow of animation transitions in a Skeletal Mesh, the most important aspect of them is what actually happens within each node of a State Machine. With this in mind, it is important to remember the primary purposes of each of a State Machine's node types:
Node | Purpose |
|---|---|
State | Output a pose or animation result. |
Transition Rule | Govern whether animation will flow from one state into another. Uses a Boolean value to determine if the transition will take place. |
Conduit | Also governs the flow of animation, but with the ability to share the transition cause among many different states. Uses a Boolean value to determine if the transition will take place. |
Keeping this in mind will make it much easier to determine what types of nodes to place into each part of the State Machine.
Editing States
A State's job is to produce a final animation or pose. This can be a single AnimSequence, a BlendSpace, or any type of network so long as it produces a final animation or pose.

Above a single AnimSequence results in the Final Animation Pose.

Above a Blendspace is used to blend between different poses based on the value Speed.

Above a different AnimSequence is selected based on the value of the Boolean Is In Air?
Adding Animation Elements
To add an AnimSequence or BlendSpace into a State's graph, you can drag-and-drop it from the Asset Browser in the Animation Blueprint Editor:

Or use the Right-click context menu and select an animation:

Automatic State Creation
To automatically create a State in a State Machine, drag an AnimSequence or Blendspace asset into the graph.

Once dragged in, the State is automatically created and named after the asset.

Inside, you can see that the animation asset has been connected to the Final Animation Pose result automatically.

Creating Transition Rules
Transition Rules are methods of controlling flow inside a State Machine, and are automatically created along the wires that connect States and Conduits. These Transition Rules can perform any number of checks and tests against variable values, all with the purpose of outputting a true or false value, which then determines whether the animation can move through the transition.
Connecting States or Conduits together can be performed by left-clicking and dragging from one State (or Conduit) to another:

After a connection is made, a Transition Rule appears as a small circular directional icon inside the wired connection:
When you mouse over the icon, a visual indication of what the rule is will be displayed:
In this example, for JumpLoop to transition to JumpEnd, the variable IsInAir? must be NOT true.
Rules can also be set to determine flow for a transition in both directions:

This means that a rule can be set to exit one state then to move to another, and a rule can be applied to transition back to that state.
Editing Transition Rules
Double-clicking a Transition Rule will open a window where you can define the variables that must be met for the transition to occur.

Similar to Blueprints, you can specify variables in the My Blueprint window and drag them into the graph. By connecting the variables to various conditions which are then connected to the Result node, you can define what must be true (or false) for the transition to occur.
Transition Rule Details
When you click a Transition Rule, the Details panel will update, and additional options will become available.
Property | Description |
|---|---|
Transition Priority Order | The priority order of the transition. If multiple transitions out of a state are true at the same time, the one with the lowest number for priority order will take precedence. |
Bidirectional | Determines if the transition can go both directions. |
Blend Logic | Specifies what transition logic to use: Standard Blend, Inertialization, or Custom Blend. |
Transition Rule Sharing | Use this option to set whether or not the rule can be shared with other transitions, or whether to use the rule from another transition. |
Automatic Rule Based on Sequence Player in State | This will try to set the rule automatically, based on most relevant player node's remaining time and the Crossfade Duration of the transition, ignoring the internal time. |
Transition Crossfade Sharing | Use an existing Transition Crossfade Blend, or promote the existing Transition Crossfade to shared. |
Duration | The duration to apply to the crossfade. |
Mode | The type of blending applied to the crossfade. See Animation Blend Modes for more information. |
Custom Blend Curve | Takes in a user-specified blend curve and applies it during the blend. |
Blend Profile | The blend profile used to evaluate this transition per bone. |
Transition Interrupt | Set the Trigger Weight Threshold and specify a Notify State Class. |
Start Transition Event / Custom Blueprint Event | Call and execute an Event from within the notified Blueprint at the start of the transition. |
End Transition Event / Custom Blueprint Event | Call and execute an Event from within the notified Blueprint at the end of the transition. |
Interrupt Transition Event / Custom Blueprint Event | Call and execute an Event from within the notified Blueprint when the transition is interrupted. |
Inertialization
Inertial blending is a type of blend; however, the Inertialization system itself does not sample from a source animation. Instead, the velocity and acceleration that are inherent in the motion at the time we begin the switch to the new animation are used to carry forward the motion.
You can enable Inertialization by setting the Blend Logic property in the Details panel to Inertialization.
You will need to use the Inertialization node to specify where in your AnimGraph the inertial blend is to occur.

In the video above, we use a Standard Blend to blend between animations. Both animations are sampled at the same time and crossfade during the transition.
When we apply Inertialization as the Blend Logic, we add the Inertialization node between the Locomotion and the final output pose. When doing so, the transitions between states are instantaneous, and the motion carries over to the next pose.
Custom Blends
In addition to the nodes cited above, there is also information exposed inside Custom Blend Graphs to allow them to be used for more than just a one-shot, custom-transition animation.

No. | Node | Description |
|---|---|---|
1 | State Weight | Gets the blend weight of a specified state. |
2 | Get Transition Time Elapsed | Gets the elapsed time in seconds of a specified transition. |
3 | Get Transition Time Elapsed (ratio) | Gets the elapsed time as a fraction of the crossfade duration for a specified transition. |
4 | Get Transition Crossfade Duration | Gets the crossfade duration of a specified transition. |
You can also use get nodes that reference the asset players just like a Transition Rule.
Additional Considerations
When working with child Animation Blueprints and overriding animations in a State Machine, animations referenced by transition rules do not have to be the same length in every child Animation Blueprint. When using nodes like the Time Remaining node (which can be used to determine how much time is remaining in an animation and can be used as part of a Transition Rule), these types of nodes correctly respond to changes in animation length when animations are overridden in child Animation Blueprints.
Also, rather than targeting a specific animation as part of your Transition Rule that might change or may be overridden, you can use several class-based get nodes that always pick the highest weighted animation from the source state (pictured below).

No. | Node | Description |
|---|---|---|
1 | Get Relevant Anim Length (Movement) | Gets the length in seconds of the most relevant animation in the source state. |
2 | Get Relevant Anim Time (Movement) | Gets the current accumulated time in seconds for the most relevant animation in the source state. |
3 | Get Relevant Anim Time Fraction (Movement) | Gets the current accumulated time as a fraction of the length of the most relevant animation in the source state. |
4 | Get Relevant Anim Time Remaining (Movement) | Gets the time remaining in seconds for the most relevant animation in the source state. |
5 | Get Relevant Anim Time Remaining Fraction (Movement) | Gets the time remaining as a fraction of the duration for the most relevant animation in the source state. |

Comments
Post a Comment